Public Wi-Fi is convenient, but convenience is exactly what attackers imitate. This checklist is designed for travelers, remote workers, developers, and IT admins who need a repeatable way to decide whether a hotel, airport, café, or conference network is safe enough to use. Instead of treating every hotspot as either harmless or forbidden, this guide shows what to check before logging in, what to avoid once connected, and when to step away and use a different connection. It is written to be revisited before each trip and updated as captive portal scams, fake SSIDs, malicious QR codes, and account theft tactics evolve.
Overview
If you only remember one thing, remember this: the biggest risk on public Wi-Fi is often not the radio signal itself, but the trust decisions you make around it. A traveler usually gets exposed through one of four paths: connecting to the wrong network, entering credentials into a fake portal, browsing without enough account protection, or staying connected longer than necessary.
A practical public wifi security checklist should therefore answer a few simple questions before you join any network:
- Is this the legitimate network for this location?
- Does the login page look normal, minimal, and expected, or is it asking for too much?
- Do you really need this network for the task you are about to perform?
- Are your device settings prepared for an untrusted environment?
- Do you have a fallback, such as a personal hotspot or offline workflow?
For most travelers, the safest default is to treat public Wi-Fi as untrusted but sometimes usable. That means using it selectively, limiting sensitive tasks, and validating anything that asks for credentials, payment details, or a software install. This approach is more realistic than blanket advice to never use public networks at all.
It also helps to distinguish between common environments:
- Airport Wi-Fi security: high convenience, high distraction, many lookalike networks, frequent urgency.
- Hotel Wi-Fi: often legitimate but commonly paired with phishing-style captive portals, room-number prompts, and support desk impersonation.
- Café and retail hotspots: lower friction, less identity verification, but easier for attackers to mimic.
- Conference and event Wi-Fi: many temporary users, inconsistent signage, and elevated targeting of professionals carrying valuable credentials.
That context matters because your checklist is not just technical. It is behavioral. Attackers rely on people being tired, rushed, and willing to click through whatever gets them online fastest.
What to track
Use this as your repeat-use checklist before connecting. The goal is not perfect certainty. The goal is reducing avoidable mistakes.
1. Verify the network name from a trusted source
Do not rely on the strongest signal or the first familiar-looking SSID in the list. Ask staff, check printed signage at the desk, or confirm through the official venue website or app. A fake network can be named almost identically to the real one.
Examples of warning signs:
- Duplicate network names with slight spelling changes
- Extra words like “free,” “secure,” or the venue name repeated oddly
- Multiple open networks appearing where staff insist there is only one
This is one of the most important safe public wifi tips because it prevents the simplest trap: joining the attacker’s hotspot instead of the venue’s.
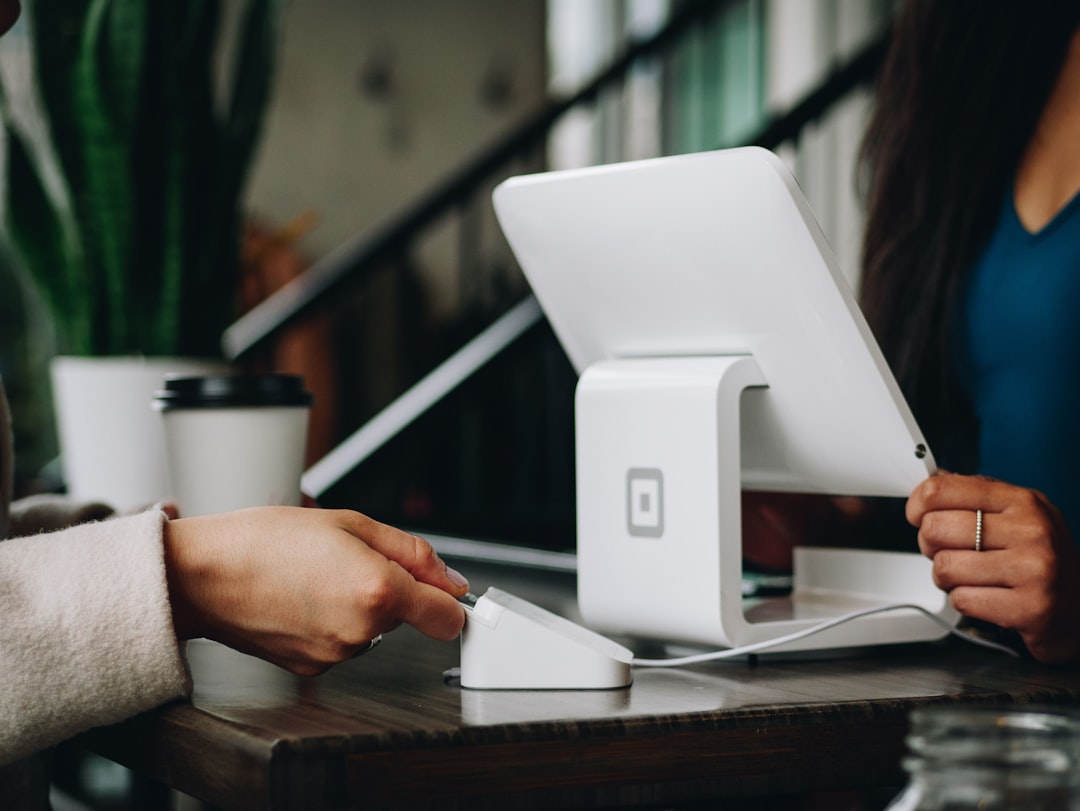
2. Inspect the captive portal before entering anything
Many public networks use a browser-based login page. That is normal. What matters is what the page asks for and how it behaves.
A legitimate portal may ask you to accept terms, enter a room number, or submit an email address. A suspicious portal may ask for too much, such as:
- Your corporate email password
- Your bank details
- A software download before access
- A QR code scan that redirects away from the venue
- Identity document uploads
If a captive portal asks for sensitive credentials unrelated to internet access, stop. Hotel wifi phishing often works by presenting a plausible support or loyalty login that steals credentials under the pretense of network verification.
If the portal uses a QR code, treat it with the same caution as any public sign. For more on that pattern, see QR Code Scam Guide: Quishing Examples, Payment Traps, and How to Verify Codes Safely.
3. Check whether your device auto-joins known or open networks
Before travel, disable automatic joining of open hotspots and review saved networks. Devices that connect automatically can latch onto impersonated or rogue networks without a clear decision from you.
Review these settings:
- Auto-join or auto-reconnect for open Wi-Fi
- Remembered networks you no longer use
- Hotspot prompts that automatically suggest nearby open access points
For travelers who move through airports and hotels often, this one setting prevents a surprising number of accidental connections.
4. Confirm your VPN expectations before relying on it
A VPN can reduce exposure on untrusted networks, but it is not a permission slip to ignore every other risk. It does not make a fake captive portal legitimate, and it does not protect credentials you willingly type into a phishing page.
Before travel, confirm:
- Your VPN works on your laptop and phone
- It reconnects predictably after captive portal login
- You know how to tell when it is active
- Your most sensitive work apps still require strong account authentication
Think of the VPN as one control in your travel cyber safety plan, not the entire plan.
5. Harden the device before you leave home
The best airport wifi security decision is often made before you arrive at the airport. Basic preparation reduces what an untrusted network can do even if you make a mistake later.
Useful pre-trip checks:
- Install OS and browser updates
- Enable full-disk encryption
- Use screen lock with a short timeout
- Turn on multi-factor authentication for important accounts
- Disable unnecessary file sharing, AirDrop-style visibility, and local discovery features
- Make sure device firewall protections are enabled where appropriate
If an account matters, it should not be protected by password alone. For account follow-up after suspicious activity, see Credential Stuffing Attacks Explained: How to Spot Them and Protect Your Accounts.
6. Decide which tasks are allowed on public Wi-Fi
One of the best public wifi security checklist items is a simple policy: not every task belongs on a public network. Separate your online activity into three groups.
- Usually acceptable: reading news, mapping, low-risk browsing, downloading non-sensitive materials from trusted sites
- Use caution: work email, collaboration tools, cloud dashboards, account settings pages
- Prefer not on public Wi-Fi: banking, wire approvals, sensitive admin access, password resets, identity verification, tax and payroll tasks
If the task could cause direct financial loss or privileged account compromise, use your own hotspot or wait for a trusted connection.
7. Watch for environment-based scams, not just network-based risks
Travelers are often targeted through the setting around the Wi-Fi, not just the network. Common examples include:
- Someone posing as tech support and asking you to install remote access software
- A text claiming your hotel or airline needs you to re-verify payment
- An email saying your package, badge, invoice, or reservation is delayed unless you log in now
These scams blend physical context with digital prompts. They work because the message feels timely. Related reading: Tech Support Scam Tactics: Screen-Sharing Tricks, Refund Scams, and Safe Recovery Steps, Fake Invoice Email Scams: Current Examples, Business Risks, and Verification Workflow, and How to Report Phishing Emails, Texts, and Websites to the Right Place.
8. Check browser signals, but do not overtrust them
HTTPS matters, but it does not prove a page is honest. A phishing page can still use encryption. Instead of asking only whether the lock icon appears, ask whether the site itself makes sense.
Questions to ask:
- Is the domain what you expected?
- Did you navigate there yourself, or were you redirected unexpectedly?
- Is the page requesting information unrelated to the service?
- Are there design inconsistencies, spelling issues, or urgent payment prompts?
That judgment is especially important for hotel wifi phishing pages and travel-branded impersonation sites.
Cadence and checkpoints
This article works best if you use it on a schedule, not just once. Public Wi-Fi risk changes less because the laws of networking changed and more because attacker behavior, travel patterns, and your device state change over time.
Before every trip
- Update devices and browsers
- Review saved Wi-Fi networks and disable open auto-join
- Confirm MFA on primary accounts
- Test VPN and hotspot fallback
- Decide which work tasks are off-limits on public networks
At check-in or on arrival
- Ask staff for the exact network name
- Ask whether a browser portal is expected
- Ask whether any app download, QR code, or room-number prompt is legitimate
Before connecting each time
- Compare the SSID to the confirmed one
- Look for duplicate or suspiciously similar names
- Open the login page carefully and inspect what it asks for
- Disconnect if the flow feels inconsistent with the venue
During the session
- Avoid sensitive tasks unless necessary
- Watch for unexpected redirects, pop-ups, or update prompts
- Ignore unsolicited calls or messages claiming to be support
- Turn off Wi-Fi when you are done instead of leaving the device connected for hours
Monthly or quarterly
Revisit your checklist even if you are not actively traveling. This is where the tracker approach matters. Use a recurring reminder to review:
- Whether your devices still auto-join networks
- Whether your VPN setup still works after OS updates
- Whether your password manager, MFA apps, and recovery methods are current
- Whether your organization’s travel guidance has changed
If you monitor broader incident patterns, the site’s Security Incident Timeline Tracker: Major Cyber Incidents and Outages This Year and Ransomware Incident Watch: Confirmed Cases, Tactics Used, and Public Impact can help keep your general threat awareness current.
How to interpret changes
Not every odd detail means active compromise. The value of a checklist is learning which changes should raise your suspicion level.
Low concern, but stay aware
- The portal design looks outdated but asks only for basic access consent
- The network is slow or unstable
- The venue rotates access codes regularly
These may reflect poor operations rather than fraud.
Medium concern, verify before continuing
- The SSID differs slightly from what staff told you
- The login page redirects through several domains
- The portal asks for personal data beyond what access reasonably requires
- You receive a text or email immediately after joining, asking for additional verification
At this level, pause and verify with the venue through a separate channel.
High concern, disconnect immediately
- The portal asks for your email password, company password, or bank login
- You are prompted to install software to access Wi-Fi
- A support message urges remote access or screen sharing
- The venue cannot confirm the network name you are using
- The network appears to be free-standing and not actually operated by the venue
In those cases, move to cellular or a personal hotspot. If you already entered credentials, treat it as a probable phishing event and begin account recovery steps. If you are unsure whether credentials have been exposed, Password Leak Checker Guide: How to Confirm Exposure and Secure Accounts Fast is a useful next read.
One more interpretation rule is worth keeping: urgency increases risk. If the network, portal, or surrounding messages are pushing you to act quickly, that alone is a reason to slow down. Attackers benefit from rushed decisions more than from technical sophistication.
When to revisit
Revisit this checklist whenever your travel pattern, device setup, or threat exposure changes. That includes obvious moments, like planning a trip, but also quieter ones, such as switching phones, reinstalling a laptop, changing your VPN, or enabling a new password manager.
A practical revisit schedule looks like this:
- Before each trip: run the pre-travel checks and refresh your fallback plan
- Monthly: review Wi-Fi settings, saved networks, and MFA coverage
- Quarterly: test your travel workflow end to end, including hotspot, VPN, and account recovery options
- After any suspicious event: change exposed credentials, review active sessions, and inspect device/network settings
Use this final field checklist as a compact version you can save to your notes app:
- Confirm the official network name from staff or official signage.
- Disable auto-join for open networks.
- Use a personal hotspot for high-risk tasks.
- Inspect captive portals carefully; do not enter passwords unrelated to access.
- Do not install software or accept remote support to get online.
- Keep MFA enabled on important accounts.
- Turn off sharing and unnecessary local discovery features.
- Disconnect when finished instead of staying passively connected.
- Report phishing pages, texts, or emails encountered during travel.
- After the trip, review any unusual login alerts or account activity.
The goal is not fear. It is control. Public Wi-Fi can be used more safely when you decide in advance what counts as normal, what requires verification, and what is a clear stop signal. That is why this checklist is worth revisiting: the underlying questions stay the same even as the scams around them change.